
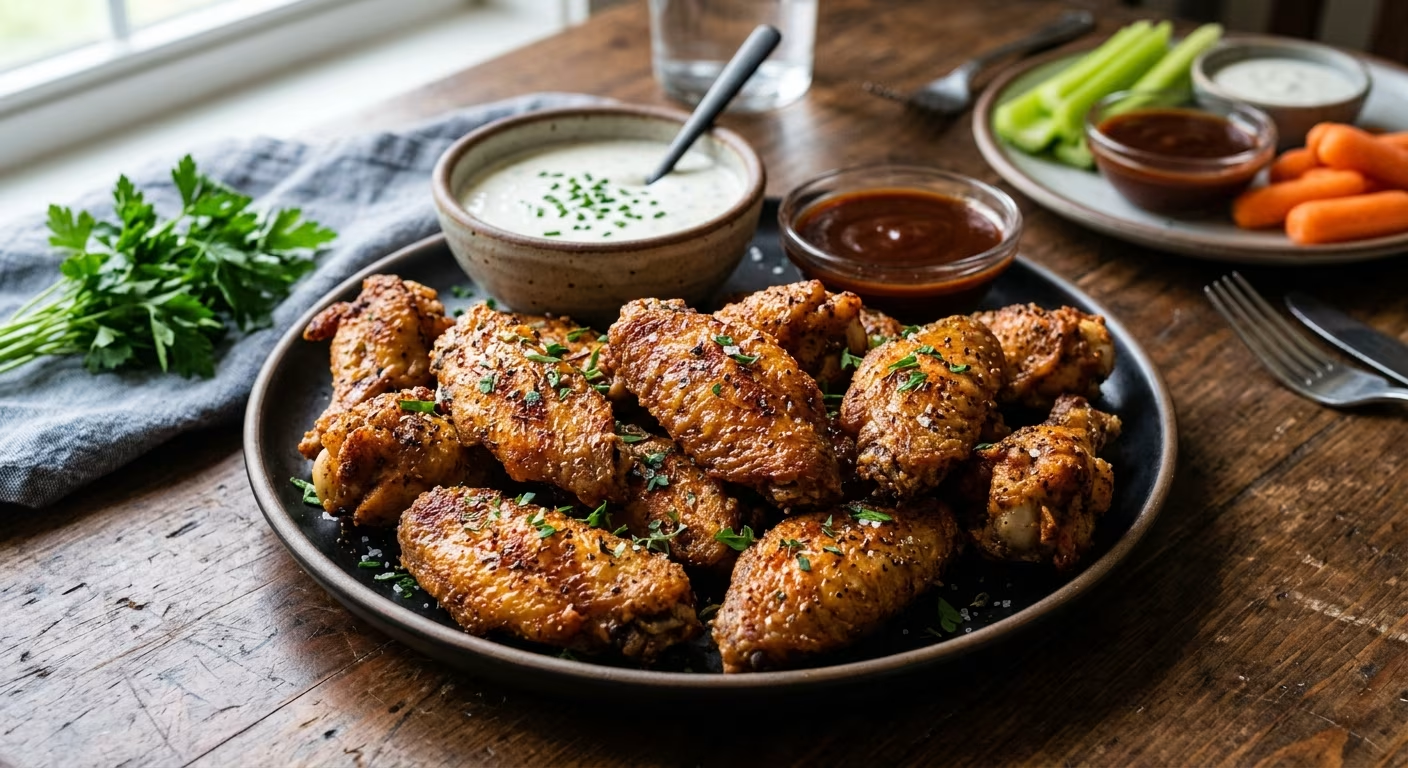
Written from years of cooking experience because I’ve made every mistake so you don’t have to.
Let me be honest with you. The first time I tried baking chicken wings at home, they came out pale, rubbery, and sad nothing like the golden, crunchy wings I was craving. I blamed the oven. I blamed the chicken. I even blamed the weather (don’t ask). But after dozens of test batches, I finally cracked the code. And today, I’m sharing everything I know so your very first batch comes out restaurant-quality.
The good news? You don’t need a deep fryer. You don’t need fancy equipment. You just need a few smart techniques, the right temperature, and one secret ingredient that changes everything.
🍗 Why Bake Instead of Fry?
I know what you’re thinking fried wings are crispier. And yes, traditionally they are. But here’s what I’ve learned: baking done right gets you just as close, without the mess, the oil splatter, or the guilt.
- ✅ Less fat no deep frying means lower total calories
- ✅ Less mess no oil to dispose of
- ✅ Hands-off cooking the oven does the work while you prep your dips
- ✅ Scalable easily make a big batch for a crowd
- ✅ Customizable toss in any sauce after baking
As Wholesome Yum puts it: baked wings are “better when I need a larger batch and they don’t require any special appliances.”
🛒 Ingredients You Need
Keep it simple. Here’s what I use for a base recipe that feeds 4 6 people:
| Ingredient | Amount | Why It Matters |
|---|---|---|
| Chicken wings (drums & flats) | 3 lbs | The star of the show similar sizes bake evenly |
| Aluminum-free baking powder | 1 tbsp | The secret to incredibly crispy skin |
| Kosher salt | 1½ tsp | Seasons and draws out surface moisture |
| Black pepper | ½ tsp | Classic flavor base |
| Garlic powder | 1 tsp | Deep savory flavor |
| Paprika | 1 tsp | Color and mild sweetness |
| Neutral oil (avocado/canola) | 1 tbsp | Helps seasoning stick; promotes browning |
💡 Pro Tip: Always use aluminum-free baking powder. I learned this the hard way the aluminum version leaves a faint metallic taste on the wings. Brands like Rumford work great.
🔬 The Science Behind Crispy Wings (This Is Cool, Trust Me)
Here’s the part most people skip and it’s the reason some people’s wings never get crispy. Let me break it down simply.
Baking powder is the game-changer. It does two things simultaneously:
- Draws moisture to the skin surface so it evaporates quickly in the oven, leaving the skin dry and crackly.
- Raises the pH level of the skin, which breaks down proteins faster and helps the skin brown evenly.
Think of it like this: without baking powder, you’re steaming the skin from the inside out. With it, you’re essentially fast-tracking the dehydration process that makes skin go from floppy to shatteringly crisp.
Combined with a high oven temperature ideally 425°F and a wire rack that lets air circulate under the wings, you get results that genuinely rival deep-fried wings.
“Baking powder raises the pH level of the skin, aids in browning the wings, helps break down proteins faster, and draws out moisture which all lead to a crispier texture.”
📋 Step-by-Step: How to Make Perfectly Crispy Baked Chicken Wings
Step 1 Prep Your Wings
If you bought whole wings, cut them into drummettes and flats at the joint. Discard (or save for stock) the wing tips there’s barely any meat there. Try to use wings of similar sizes so they cook evenly.
Step 2 Dry Them Thoroughly (Don’t Skip This!)
Pat every single wing dry with paper towels. I mean really dry. Wet skin = soggy wings, full stop. Moisture is the enemy of crispiness. If you have time, place the coated wings uncovered on a rack in the fridge for at least 1 hour or even overnight. This air-drying step makes a noticeable difference.
Step 3 Season
In a bowl, mix your baking powder, salt, garlic powder, paprika, and pepper. Toss the dried wings in a light coat of oil first, then add the seasoning mix. Make sure every wing is evenly coated use your hands, it’s faster.
Step 4 Set Up Your Pan
Line a rimmed baking sheet with aluminum foil (easy cleanup!). Place a wire rack on top and spray it lightly with cooking spray so the wings don’t stick. Arrange wings in a single layer, not touching each other. Crowding the pan traps steam and kills crispiness.
Step 5 Bake at 425°F
Preheat your oven to 425°F. Bake wings on the upper-middle rack, flipping every 20 minutes, for a total of 45 60 minutes depending on size. The total cook time will depend on the size of the wings.
Step 6 Optional Broil Finish
Want extra crunch? In the last 1 2 minutes, switch to the broil setting. Watch them closely it goes from golden to burned fast. This is my personal favorite finishing trick for parties.
Step 7 Rest, Then Sauce
Let the wings rest for 5 minutes before tossing in sauce. If you sauce them too early while they’re super hot, the moisture from the sauce softens that crispy skin you worked so hard for.
⏱️ Baking Time Guide by Wing Size
| Wing Size | Wings Per Pound | Bake Time |
|---|---|---|
| Small | 12+ per lb | 30 min, then flip + 15 min |
| Medium | ~10 per lb | 30 min, then flip + 20 min |
| Large | <10 per lb | 30 min, then flip + 25 30 min |
Always verify doneness with a meat thermometer, not by appearance alone. More on this below.
🌡️ Food Safety First Internal Temperature Matters
This section might seem boring, but please read it. I’ve seen people serve undercooked wings at parties because “the skin looked brown.” Brown skin does not mean safe chicken.
According to the USDA Food Safety and Inspection Service, chicken wings must be cooked to a safe internal temperature of 165°F (74°C), as measured with a food thermometer. To measure correctly, insert the thermometer into the thickest part of the wing and avoid touching the bone.
The USDA also recommends against washing raw poultry, as this can spread bacteria around your sink and countertops. Instead, pat the wings dry with paper towels and dispose of those towels immediately.
Key food safety rules for chicken wings:
- 🌡️ Cook to 165°F minimum every single wing
- 🔪 Use separate cutting boards for raw chicken and other foods
- 🧼 Wash hands for 20 seconds before and after handling raw poultry
- ❄️ Refrigerate leftovers within 2 hours of serving
- 🚫 Never leave cooked wings at room temperature for more than 2 hours
🧂 Seasoning Variations to Try
Once you’ve nailed the base recipe, the fun begins. Here are my favorite flavor combos:
- Classic Buffalo Toss baked wings in ½ cup hot sauce + 3 tbsp melted butter
- Garlic Parmesan Mix 2 tsp garlic salt with 3 tbsp grated parmesan and toss after baking
- BBQ Smoky Use 1 tbsp BBQ mesquite dry rub before baking; brush with sauce in the last 5 minutes
- Lemon Pepper Add lemon zest + lemon pepper seasoning + onion powder to your rub
- Korean-Style Toss in gochujang + honey + sesame oil after baking
My personal go-to for game day? The classic Buffalo simple, crowd-pleasing, and perfect with a homemade ranch dip on the side.
💾 Storage & Reheating Tips
Made too many? Lucky you. Here’s how to keep them good:
- Fridge: Store in an airtight container for up to 3 4 days
- Reheating in oven: Preheat to 350°F and bake until crispy again, about 10 15 minutes
- Reheating in air fryer: Best method! 375°F for 7 8 minutes restores that original crunch
- Tip: Let wings come to room temperature before reheating they crisp up better than going straight from cold fridge to hot oven
❓ Frequently Asked Questions
Can I use baking soda instead of baking powder?
No. Baking soda is much stronger and will leave a soapy, bitter taste. Use baking powder only and make sure it’s aluminum-free.
Do I need a wire rack?
A wire rack is highly recommended. It lets air circulate under the wings so they crisp up on all sides. Without it, the underside sits in rendered fat and goes soggy. If you don’t have one, flip the wings more frequently and drain any excess fat from the pan midway through cooking.
Can I make these ahead of time?
You can bake them an hour or two ahead and reheat right before serving. For parties, keep them in a warm oven, warming tray, or slow cooker to maintain safe temperature and avoid the “danger zone.”
What if I only have frozen wings?
Thaw them first either in the fridge overnight, or in cold water (changing the water every 30 minutes) for 2 3 hours. Never thaw at room temperature. Once thawed, pat them completely dry before seasoning.
Can I use a convection oven?
Yes and it’s actually better! The convection fan promotes extra airflow, which means even crispier skin in less time. If using convection, you may reduce total bake time by 5 10 minutes.
🏆 My Top 5 Tips for Crispy Baked Wings (Summary)
- Pat wings bone dry moisture is the enemy of crispy skin
- Use aluminum-free baking powder it’s the single biggest upgrade
- Bake at 425°F high heat = crispy skin, juicy inside
- Use a wire rack airflow under the wings is non-negotiable
- Flip halfway through even browning on both sides
Follow these five steps and I promise you’ll never order takeout wings again.
References
- USDA Food Safety and Inspection Service “Keep Your Chicken Wings in the Big Game.” U.S. Department of Agriculture. Updated February 2024.
- USDA Food Safety and Inspection Service “Safe Chicken Wings from Prep to Plate.” U.S. Department of Agriculture. Updated January 2026.
- USDA Food Safety and Inspection Service “Chicken from Farm to Table.” U.S. Department of Agriculture.
- FoodSafety.gov “Cook to a Safe Minimum Internal Temperature.” U.S. Department of Health & Human Services. Updated November 2024.