
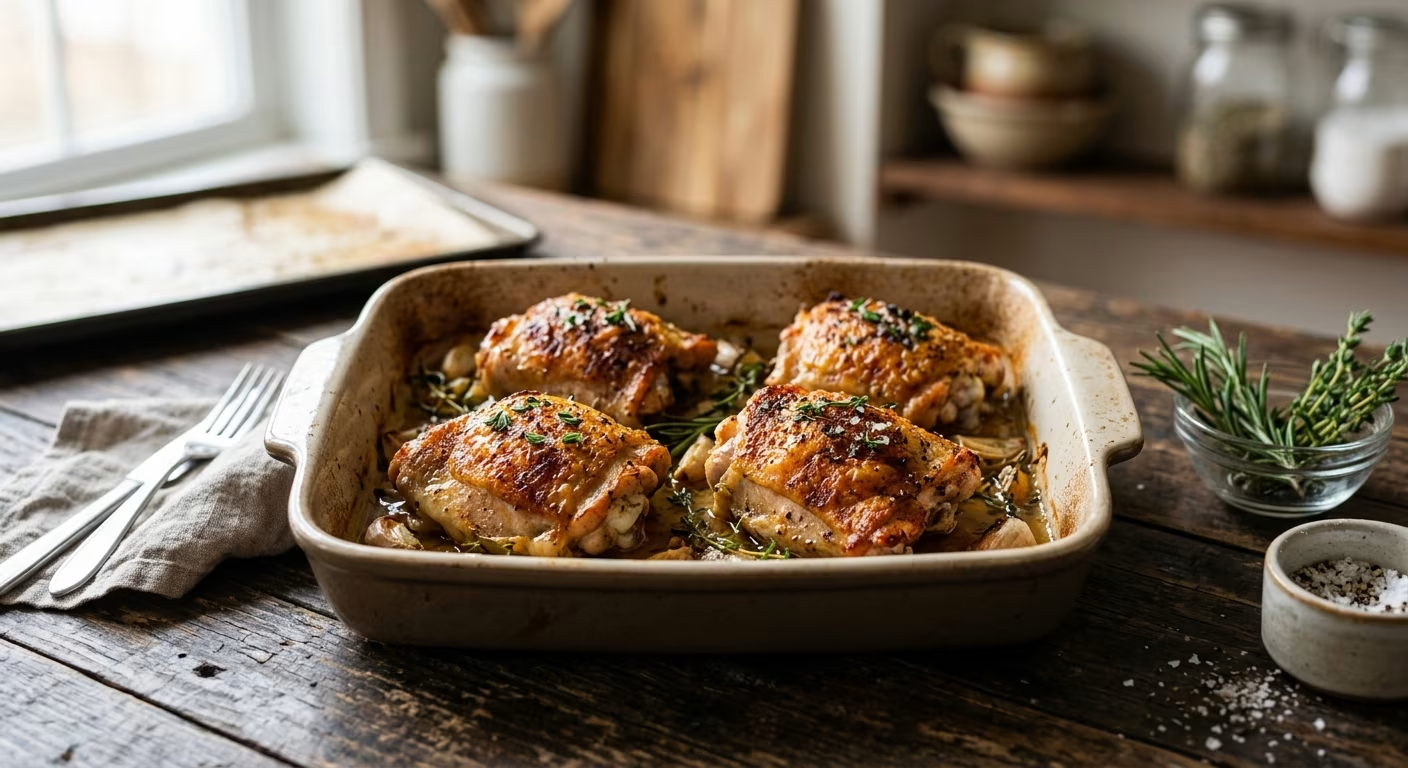
By a home cook and culinary enthusiast with over 15 years of weeknight kitchen experience
Let me be honest with you I spent years overcooking chicken breasts and wondering why dinner felt like a chore. Then one Tuesday evening, with a pack of bone-in thighs, a bottle of smoked paprika, and a 400°F oven, everything changed. Baked chicken thighs quickly became my most-reached-for weeknight recipe, and after making them hundreds of times, I want to share everything I know so yours turn out perfectly on the very first try.
This guide covers everything: why thighs beat breasts for most home cooks, the exact temperatures and timing, seasoning tips, food safety, storage, and what to do with leftovers. Let’s get into it.
Why Chicken Thighs Are the Best Choice for Home Cooks
If you have been defaulting to chicken breasts because you thought they were the “healthy” option, I want to gently challenge that habit. Chicken thighs are, in my experience, far more forgiving and consistently delicious especially in the oven.
Here is why I reach for thighs every time:
- They stay juicy. Thighs are juicier than breasts and full of flavorful dark meat, making them less likely to dry out during baking.
- They are nearly foolproof. While chicken breasts can easily become overcooked, it is very difficult to overcook chicken thighs because dark meat has more connective tissue than white meat, it actually becomes more tender the longer it cooks.
- They are budget-friendly. Chicken thighs are significantly cheaper per pound than chicken breasts a real saving for families cooking several times a week.
- Minimal prep time. Bone-in chicken thighs require just 5 minutes of prep time, then bake hands-off in the oven with no need to flip or rotate the pan.
- Great for meal prep. Oven-baked bone-in chicken thighs are a perfect meal-prep protein for bowls, wraps, and quick lunches because they stay juicy even during reheating.
“The first time I served baked thighs at a dinner party instead of breasts, every plate was licked clean. Nobody missed the white meat.”
Bone-In vs. Boneless: Which Should You Use?
Both work beautifully, but they behave differently in the oven:
| Type | Cook Time | Flavor | Best For |
|---|---|---|---|
| Bone-In, Skin-On | 35 45 min at 400°F | Deepest, richest | Sunday dinners, crispy skin |
| Boneless, Skin-On | 25 35 min at 400°F | Rich, slightly lighter | Weeknight meals |
| Boneless, Skinless | 20 30 min at 400 425°F | Lighter, mild | Meal prep, bowls, wraps |
Pro tip: Bone-in thighs take longer to cook because the bone slows down heat transfer, but they reward you with crisp skin and deeper flavor.
Nutrition Facts: What You Are Actually Eating
One thing I hear often is: “Are chicken thighs healthy?” The short answer is yes and here is the data to back it up.
According to USDA FoodData Central data, a 100g serving of cooked, skinless chicken thigh provides roughly 25 27g of complete protein, about 8g of fat, and around 209 calories. Chicken thighs are also richer than breasts in iron, zinc, vitamin B6, and B12 nutrients that support energy, immunity, and muscle repair.
Here is a quick breakdown per serving:
| Nutrient | Per 100g (Cooked, Skinless) |
|---|---|
| Calories | ~209 kcal |
| Protein | 25 27g |
| Total Fat | ~8 10g |
| Carbohydrates | 0g |
| Iron | ~1.1mg |
| Zinc | ~2.0mg |
Source: USDA FoodData Central. Values are estimates and may vary by cooking method and cut.
If you are calorie-conscious, removing the skin reduces fat by approximately 3 4g per 100g while preserving nearly all the protein a smart trade-off when cooking for health goals.
What You Need: Ingredients & Equipment
Ingredients
- 4 6 bone-in, skin-on chicken thighs (about 2 lbs)
- 1 2 tablespoons olive oil or avocado oil
- 1 tsp garlic powder
- 1 tsp smoked paprika
- 1 tsp onion powder
- ½ tsp Italian seasoning
- Salt and black pepper (be generous)
- Optional: a pinch of cayenne pepper for heat
I always keep smoked paprika in my pantry specifically for chicken thighs it adds a slight smokiness, loads of flavor, and gives the skin a gorgeous richer color.
Equipment
- Rimmed baking sheet or roasting pan
- Wire rack (highly recommended it lets hot air circulate all around the meat)
- Instant-read meat thermometer (non-negotiable for food safety)
- Paper towels
- Aluminum foil (for easy cleanup)
Step-by-Step: How to Bake Chicken Thighs Perfectly
Step 1 Prep the Chicken
Pat them dry. This is the single most important step for crispy skin. Use paper towels to thoroughly pat the chicken thighs dry on all sides before seasoning. Moisture is the enemy of crispiness if the skin is wet, it will steam instead of roast.
Step 2 Season Generously
Drizzle olive oil over the thighs, then apply your seasoning blend. Rub it all over top, bottom, and especially under the skin if you can get your fingers in there. Do not be shy with the salt. Chicken thighs require bold flavors due to their rich taste and higher fat content.
Let the seasoned thighs rest at room temperature for about 20 minutes before baking. This helps them cook more evenly.
Step 3 Set Up Your Oven
Preheat your oven to 400°F (204°C) and center the oven rack. Place your thighs skin-side up on a wire rack set over a lined baking sheet. The rack lifts the meat out of its own juices, allowing the bottom to stay firm instead of soggy.
Chef’s Note: If your thighs are touching each other on the pan, you are not roasting you are steaming. Leave at least 1 inch of space between each piece so hot air can circulate all the way around.
Step 4 Bake
Bake uncovered for 35 45 minutes depending on the size of the thighs. Do not flip them. Keep the skin-side up the entire time flipping into the rendered fat makes the skin soggy.
Want extra-crispy skin? Drain any excess juice from the pan in the last 5 10 minutes of baking, then switch to the broiler for 1 2 minutes. Watch them closely they brown very quickly under the broiler.
Step 5 Check Temperature (Do Not Skip This)
This is where a meat thermometer earns its place in your kitchen. Insert the thermometer into the thickest part of the thigh, being careful to stay away from the bone, as contact with the bone can give a false reading.
According to the U.S. Department of Agriculture (USDA), all poultry must reach a minimum internal temperature of 165°F (74°C) to be safe for consumption. This temperature instantly destroys harmful bacteria like Salmonella and Campylobacter.
My personal recommendation: for bone-in thighs, push to 175 185°F. At this range, the connective tissue fully breaks down, the fat renders, and you get meat that is genuinely silky and tender not just “safe to eat.”
Step 6 Rest Before Serving
Remove the thighs from the oven and let them rest for 5 10 minutes before serving. This resting period allows juices to redistribute throughout the meat, resulting in a more tender and flavorful result. Tent them loosely with foil to maintain warmth while preventing steam from softening the skin.
Baking Temperature & Time Reference Chart
| Oven Temp | Bone-In Time | Boneless Time | Skin Result |
|---|---|---|---|
| 350°F | 50 60 min | 35 45 min | Tender, less crispy |
| 375°F | 40 50 min | 30 40 min | Good balance |
| 400°F ✅ | 35 45 min | 25 35 min | Crispy & juicy |
| 425°F | 30 40 min | 20 25 min | Very crispy |
Always confirm doneness with a thermometer times vary based on thigh size and individual oven calibration.
My Top 7 Tips for the Best Baked Chicken Thighs
- Always pat dry. Moisture is the enemy of crispy skin this step is non-negotiable.
- Season under the skin. Push seasoning under the skin to directly flavor the meat, not just the exterior.
- Use a wire rack. Elevating the chicken above the pan drippings ensures the bottom crisps rather than stews.
- Do not crowd the pan. Give each thigh at least 1 inch of space so hot air circulates properly.
- Keep skin-side up the whole time. Flipping the thighs partway through makes the skin soggy.
- Use a thermometer every time. Color alone is not reliable. Always measure the internal temperature at the thickest part, away from the bone.
- Let them rest. Five to ten minutes of resting after the oven makes a real, noticeable difference in juiciness.
Seasoning Variations to Try
Once you have the base technique down, the seasoning possibilities are endless. Here are a few combinations I rotate through regularly:
- Classic: Salt, pepper, garlic powder, paprika, onion powder, Italian seasoning
- Smoky BBQ: Brown sugar, smoked paprika, cumin, garlic powder, cayenne
- Lemon Herb: Lemon zest, dried thyme, rosemary, garlic, olive oil
- Asian-Inspired: Sesame oil, rice vinegar, chili-garlic sauce, ginger
- Simple & Fast: Olive oil spray, kosher salt, Italian seasoning ready in 2 minutes
Whatever seasoning you choose, the technique stays exactly the same. Master the method and the flavor variations take care of themselves.
Storing & Reheating Leftovers
Baked chicken thighs are genuinely one of the best meal-prep proteins out there. Here is how to store them safely:
| Storage Method | Duration | Tips |
|---|---|---|
| Refrigerator | 3 4 days | Airtight container, keep at 40°F or below |
| Freezer | Up to 4 months | Cool completely first; thaw overnight in fridge |
Reheating: To reheat without drying out, use the oven at 325°F until warmed through, or microwave covered at 50% power. Avoid aggressive reheating thighs can dry out even with their higher fat content if overheated.
Leftover ideas: Shred or slice leftover thighs and use them in chicken salad, tacos, soups, enchiladas, grain bowls, or on top of a Cobb salad. The flavor actually deepens overnight in the fridge.
What to Serve With Baked Chicken Thighs
The beauty of this dish is how versatile it is. Here are my go-to pairings:
- Roasted potatoes or mashed potatoes
- Steamed or sautéed green beans
- Garlic butter rice or noodles
- A simple green salad with balsamic dressing
- Creamed spinach or sautéed mushrooms
- Roasted carrots or Brussels sprouts
On busy weeknights, I often bake a double batch enough for dinner plus two or three meal-prep containers for the rest of the week. It adds maybe 3 minutes to the process and saves enormous time later.
Frequently Asked Questions
Can chicken thighs look slightly pink and still be safe?
Yes especially near the bone. Chicken can appear pink even when fully cooked due to myoglobin (an iron-rich protein in the muscle tissue) or from freezing before cooking. As long as your thermometer reads 165°F or higher at the thickest part, it is safe to eat. Never rely on color alone.
Do I need to flip chicken thighs while baking?
No. There is no need to flip the thighs or rotate the pan while they roast in the oven. Keep skin-side up the entire time for the crispiest result.
Can I bake from frozen?
You can, but you will need to increase cooking time by approximately 50% and you must still reach 165°F internally. Thawing first produces far more even cooking and better texture.
What is the best temperature to bake chicken thighs?
400°F delivers the best balance of crispy skin and juicy meat for most home ovens. If you want maximum crispiness and have smaller thighs, 425°F works well too.
Do I need to cover the chicken while baking?
No always bake uncovered. Covering traps steam and prevents the skin from crisping. Uncovered is the only way to get that signature golden crust.
References
- Cook to a Safe Minimum Internal Temperature. FoodSafety.gov (U.S. Department of Health & Human Services). Last reviewed November 2024.
- Safe Minimum Internal Temperature Chart. USDA Food Safety and Inspection Service (FSIS). Official U.S. Government resource.
- USDA FoodData Central Chicken Thigh Nutrient Data. U.S. Department of Agriculture. Continuously updated database.
- Crispy Baked Chicken Thighs Easy Weeknight Meal. Iowa Girl Eats. Updated October 2023.
- Baked Chicken Thighs (Crispy, Juicy, and Easy!). The Kitchen Girl. Updated December 2025.
- Chicken Thigh Baking Temperature Guide. KitchPrep. November 2025.