
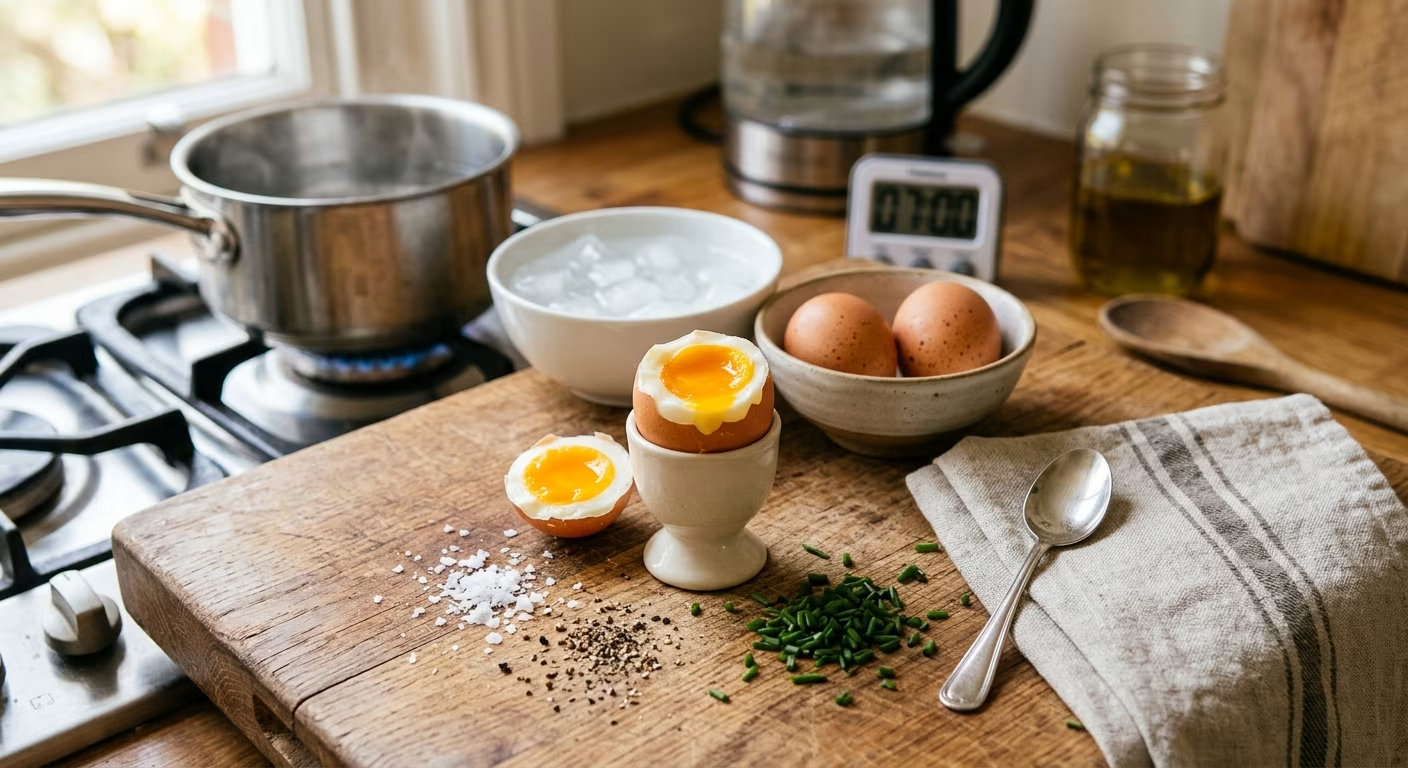
Whether you want a runny soft-boiled egg for toast soldiers or a firm hard-boiled egg for your salad, this guide will walk you through every step from pot to plate with zero guesswork.
I have been cooking professionally for over a decade, and if there is one thing I have learned, it is that the simplest techniques trip people up the most. Boiling an egg sounds almost laughably easy yet I still see people serve rubbery whites, chalky grey-ringed yolks, or eggs that are impossible to peel without half the white coming along for the ride. After cooking thousands of eggs, I am here to show you exactly how to nail it, every single time.
Why Boiled Eggs Deserve Your Attention
Before we get into technique, let us talk about why this matters beyond breakfast. A perfectly boiled egg is one of the most nutritious, affordable, and versatile foods you can prepare. Hard-boiled eggs provide only around 77.5 calories, 5.3 grams of fat, and about 6 grams of high-quality protein per egg. They are also a complete protein source, meaning they contain all nine essential amino acids your body cannot make on its own something very few single foods can claim.
Beyond protein, eggs are packed with vitamin D, zinc, calcium, B vitamins (especially riboflavin and B12), and antioxidants like lutein and zeaxanthin that support eye health. And the best part? Hard-boiled eggs are prepared without added oil or butter, making them lower in calories and fat compared to other preparation methods.
Now let us get cooking.
What You Need (Keep It Simple)
- Eggs (fresh from the fridge)
- A medium saucepan
- Water (enough to cover eggs by at least 1 inch)
- A kitchen timer
- A bowl filled with ice and cold water
- A slotted spoon or skimmer
Pro tip from experience: Do not skip the ice bath. It is the single most overlooked step, and it makes an enormous difference in both texture and ease of peeling.
The Two Main Methods Explained
There are two popular approaches to boiling eggs, and both have loyal followers. Here is an honest breakdown of each:
Method 1: Boil Water First (My Preferred Method)
This is the method I use in my own kitchen because it gives the most consistent, repeatable results. Here is why it works so well: starting eggs in already-boiling water means your timer starts from a known, fixed point. You eliminate the variable of how long it takes for your particular pot on your particular stove to reach a boil.
- Bring a saucepan of water to a full boil. Make sure there is enough water to cover the eggs by about an inch.
- While the water heats, take your eggs out of the refrigerator and set them on the counter for a minute or two.
- Once the water is at a rolling boil, reduce the heat to low briefly (so there are no bubbles), then gently lower the eggs in using a slotted spoon or skimmer.
- Turn the heat back up to a boil and start your timer immediately.
- Cook to your desired doneness using the timing table below.
- Transfer eggs to an ice bath as soon as the timer goes off.
Why lower the heat before adding eggs? Because dropping cold eggs into violently boiling water causes rapid temperature shock that can crack the shells. A gentle entry followed by returning to the boil gives you control without sacrificing results.
Method 2: Cold Water Start
This is the classic home-cook method: place eggs in a pot, cover with cold water, bring to a boil, then turn off the heat and let sit covered. It works, but it introduces more variables the type of pot, the size of your burner, and how quickly your stove heats all affect the timing. If you have used this method and found results inconsistent, that is likely why.
That said, one advantage of the cold-start method is that eggs are less likely to crack during entry into the water something worth considering if you are dealing with very cold refrigerator eggs.
Egg Boiling Timing Chart
This is the chart I keep taped inside my kitchen cupboard. Use it as your reference from the moment eggs hit boiling water:
| Time | Yolk Texture | White Texture | Best For |
|---|---|---|---|
| 6 minutes | Completely liquid and runny | Soft and just set | Egg cups, dippy eggs with toast |
| 6½ minutes | Soft and jammy | Fully set | Eggs on toast, ramen, salads |
| 8 minutes | Medium slightly soft in center | Firm | Breakfast bowls, grain salads |
| 10 minutes | Almost fully firm, hint of softness | Firm | Sliced eggs, lunchboxes |
| 12 13 minutes | Fully firm, bright yellow | Firm | Egg salad, deviled eggs |
| 14+ minutes | Very firm, pale yellow | Firm but not rubbery | Cobb salad, picnic food |
Important: Do not go past 14 15 minutes. Overcooked hard-boiled eggs develop an unappealing greenish-grey ring around the yolk a sure sign of overcooking. The green ring is the result of a chemical reaction between the iron in the yolk and the sulphur in the white. It is harmless to eat, but it looks unappetising and tastes sulphury. Avoid it entirely by sticking to the chart above and always using an ice bath.
The Ice Bath: Do Not Skip This
I cannot stress this enough. Once your timer goes off, move the eggs immediately into a bowl of ice water. Leave them there for at least 5 minutes ideally 10 to 15 minutes for hard-boiled eggs you plan to peel.
Here is what the ice bath does for you:
- Stops the cooking instantly. Even out of the hot water, eggs continue cooking from residual heat. The ice bath halts this process in its tracks.
- Makes peeling dramatically easier. The rapid temperature shock forces the egg white to contract and pull away from the shell membrane, meaning the shell slides off much more cleanly.
- Prevents the grey ring. The faster you cool the egg, the less chance there is of sulphur compounds reacting with the iron in the yolk.
Real talk: I once skipped the ice bath during a busy Sunday brunch prep and ended up with twelve nearly impossible-to-peel eggs for a party of twenty. Never again.
How to Peel a Boiled Egg Without Making a Mess
Peeling hard-boiled eggs is where most people lose their patience. Here is the method that works best in my experience:
- After the ice bath, gently tap the egg all over on the counter not in one spot, but all around the shell.
- Roll it gently between your palms to loosen the shell further.
- Start peeling from the wide, flat end of the egg there is a small air pocket there that gives you an easy starting point.
- Peel under a thin stream of cold running water. The water gets under the membrane and makes everything slide off cleanly.
The Secret to Easy-Peeling Eggs
Here is something most recipes do not tell you: very fresh eggs are harder to peel than older eggs. When eggs are fresh, the inner membrane clings tightly to the white. After a few days in the refrigerator, the pH of the white changes slightly, and the membrane loosens its grip. So if you are planning to make deviled eggs or egg salad for a party, buy your eggs 3 5 days in advance. This single tip will save you enormous frustration.
Food Safety: What You Must Know
Eggs are wonderful, but they do come with a food safety consideration that I take very seriously especially when cooking for children, elderly guests, or anyone with a compromised immune system.
Fresh eggs, even those with clean, uncracked shells, may contain Salmonella bacteria. The FDA recommends cooking eggs until both the yolk and white are firm to ensure safety. For most people, a fully hard-boiled egg (12+ minutes) eliminates this risk entirely.
Storage matters just as much as cooking. Follow these FDA-backed rules:
- Store raw eggs in the refrigerator at or below 40°F. Keep them in their original carton, and use within 3 weeks for best quality.
- Use or eat hard-cooked eggs within 1 week after cooking, whether they are peeled or still in the shell.
- Never leave cooked eggs at room temperature for more than 2 hours (or 1 hour if it is warmer than 90°F). Bacteria multiply rapidly in the temperature “danger zone” between 40°F and 140°F.
- At the store, buy only Grade A or AA eggs with clean, uncracked shells.
For picnics or lunchboxes, always pack hard-boiled eggs with a small ice pack. I learned this the hard way at a summer BBQ do not risk it.
A Note on High-Altitude Cooking
If you live at a high altitude, water boils at a lower temperature, which means your eggs will take longer to cook than at sea level. At 2,000 feet above sea level, water boils at approximately 208°F instead of 212°F. Do not increase the heat just add a few extra minutes to your cooking time and test as you go.
Common Mistakes and How to Avoid Them
| Mistake | What Happens | Fix |
|---|---|---|
| Overcooking | Grey-green ring around yolk, rubbery white | Use a timer, never exceed 14 15 minutes, and always use an ice bath |
| Skipping the ice bath | Eggs keep cooking, difficult to peel | Prepare the ice bath before you even start boiling |
| Using super-fresh eggs | Shells impossible to peel cleanly | Buy eggs 3 5 days before you plan to hard-boil them |
| Crowding the pot | Uneven cooking, cracked shells | Keep eggs in a single layer with space between them; cook no more than 6 at a time |
| Adding cold eggs to violently boiling water | Cracked shells | Reduce heat briefly before lowering eggs in, then bring back to boil |
| Wrong pot material | Inconsistent results due to heat retention differences | Account for your pot’s material; cast iron retains heat longer and cooks eggs further after heat is off |
How to Store Boiled Eggs
Got leftovers? Here is how to store them safely:
- Unpeeled hard-boiled eggs can be refrigerated in their shells for up to 1 week. The shell acts as a natural protective barrier.
- Peeled hard-boiled eggs should be stored in an airtight container, covered with cold water, and used within 5 days. Change the water daily.
- Do not freeze hard-boiled eggs. The whites become rubbery and watery when thawed. Not pleasant.
Delicious Ways to Use Your Boiled Eggs
Once you have mastered the technique, the possibilities are endless. Here are some of my favourite uses:
- Soft-boiled (6½ min): Slice over avocado toast, drop into a bowl of ramen, or serve atop a grain salad
- Medium-boiled (8 10 min): Perfect for a niçoise salad or a packed lunch
- Hard-boiled (12 14 min): Classic egg salad sandwiches, deviled eggs, sliced onto a Cobb salad
- Snack: A hard-boiled egg with a pinch of salt and pepper is one of the most satisfying, high-protein snacks you can carry anywhere
Quick Recap: The Perfect Boiled Egg in 6 Steps
- Bring water to a rolling boil in a medium saucepan (enough to cover eggs by 1 inch)
- Reduce heat briefly and gently lower eggs in with a slotted spoon
- Return to a boil and start your timer
- Cook for your chosen time (6 14 minutes depending on desired doneness)
- Transfer immediately to an ice bath; leave for at least 10 15 minutes
- Peel under cold running water starting from the wide end
That is genuinely all there is to it. Practice it twice and you will never worry about boiling an egg again.
References
- U.S. Food & Drug Administration. What You Need to Know About Egg Safety. FDA.gov. Last reviewed 2023.
- USDA Food Safety and Inspection Service. Shell Eggs from Farm to Table. FSIS.USDA.gov. Updated 2023.
- USDA Food Safety and Inspection Service. High Altitude Cooking. FSIS.USDA.gov.
- Réhault-Godbert S, Guyot N, Nys Y. The Golden Egg: Nutritional Value, Bioactivities, and Emerging Benefits for Human Health. Nutrients. 2019;11(3):684. Published via PubMed Central (NIH).
- Bagheri R et al. The Health Benefits of Egg Protein. Nutrients. 2022;14(14):2904. Published via PubMed Central (NIH).
- Harvard Health Publishing. Eggs, Protein, and Cholesterol: How to Make Eggs Part of a Heart-Healthy Diet. Harvard Medical School. Updated December 2024.
- American Egg Board. Important Food Safety Information. IncredibleEgg.org. Updated April 2025.