
By a home cook with 15+ years of kitchen experience
I’ll be honest with you I spent years boiling corn on the cob the old-fashioned way. Big pot, gallons of water, standing over a hot stove on a sweltering summer evening. Then one day, a neighbor showed me how she microwaves corn right in the husk, and I never looked back. It genuinely changed how I cook summer meals.
If you haven’t tried this method yet, you’re in for a treat. No shucking before cooking, no silky mess, no boiling water just perfectly steamed, juicy corn in minutes. In this guide, I’ll walk you through every step, share my personal tips from years of testing, and explain why this method actually works so well scientifically.
Why Cook Corn on the Cob in the Microwave?
Let me give you the honest case for why this is the best weeknight corn-cooking method I know:
- Speed: Corn in the husk in the microwave only takes a few minutes it’s even faster than boiling.
- No mess: Cooking corn on the cob in the microwave needs no shucking and (the best part) has no washing up to do afterward!
- Better flavor and moisture: The microwave and the husk create the perfect environment for corn on the cob the steam locks in moisture and retains the corn’s natural juiciness.
- Healthier cooking: Steaming veggies is one of the healthiest ways to enjoy them and with corn on the cob in the microwave, you keep all the essential goodness of the corn during cooking.
- Zero silk cleanup: After microwaving corn in the husk, the husk and silk will slide right off the corn. The corn cooks in its own juices and it is tender crisp.
“The first time I tried this, I genuinely thought I had done something wrong it was too easy. But the corn came out more flavorful than anything I had boiled. The husk acts like a natural steamer bag.”
Nutrition at a Glance: Why Corn Is Worth Eating
Before we get into the how-to, let’s quickly appreciate what you’re actually eating. Corn gets a bad reputation sometimes, but fresh corn on the cob is genuinely nutritious.
Sweet corn is a good source of many nutrients. A medium-sized ear of corn has about 75 calories and one gram of fat. It supplies carbohydrates, protein, and potassium, and is a good source of dietary fiber. Other nutrients include thiamin (vitamin B1), pantothenic acid (vitamin B5), folate, vitamin C, phosphorous, and manganese.
Additionally, corn can be good for you because it provides fiber, antioxidants, and many vitamins and minerals.
| Nutrient | Amount (approx.) |
|---|---|
| Calories | ~75 kcal |
| Carbohydrates | ~16 g |
| Protein | ~2 g |
| Fat | ~1 g |
| Fiber | ~1 2 g |
| Vitamin C, B1, Potassium | Good source |
Source: NC State University Cooperative Extension / USDA
How to Pick the Best Corn at the Store
The single biggest difference between good and great microwaved corn? Starting with fresh, high-quality ears. Here’s what I look for every time I’m at the farmers market or grocery store:
- Look for corn with bright green husks that feel slightly damp and tightly wrapped around the cob. The silk at the top should look golden and a little sticky, not too dark or dried out. Also gently feel the cob through the husk to make sure the kernels feel plump and evenly filled out from top to bottom.
- When held in warm temperatures, the sugar in the corn changes to starch, and corn will taste less sweet. So buy it fresh and cook it quickly.
- The fresher the corn, the sweeter and juicier it will be.
- Don’t peel back the husk in the store it may seem harmless, but peeling back the husk dries out the corn quickly.
Storage tip: Refrigerate fresh corn in the husk for 1 2 days before cooking. Don’t leave it sitting on the counter.
Step-by-Step: How to Microwave Corn on the Cob in the Husk
Here is the exact method I use every single time. It’s simple, repeatable, and produces perfect results.
What You Need
- 1 4 ears of fresh corn (still in the husk)
- A microwave
- Oven mitts or a kitchen towel
- A sharp knife and cutting board
Step 1: Don’t Shuck Just Place in the Microwave
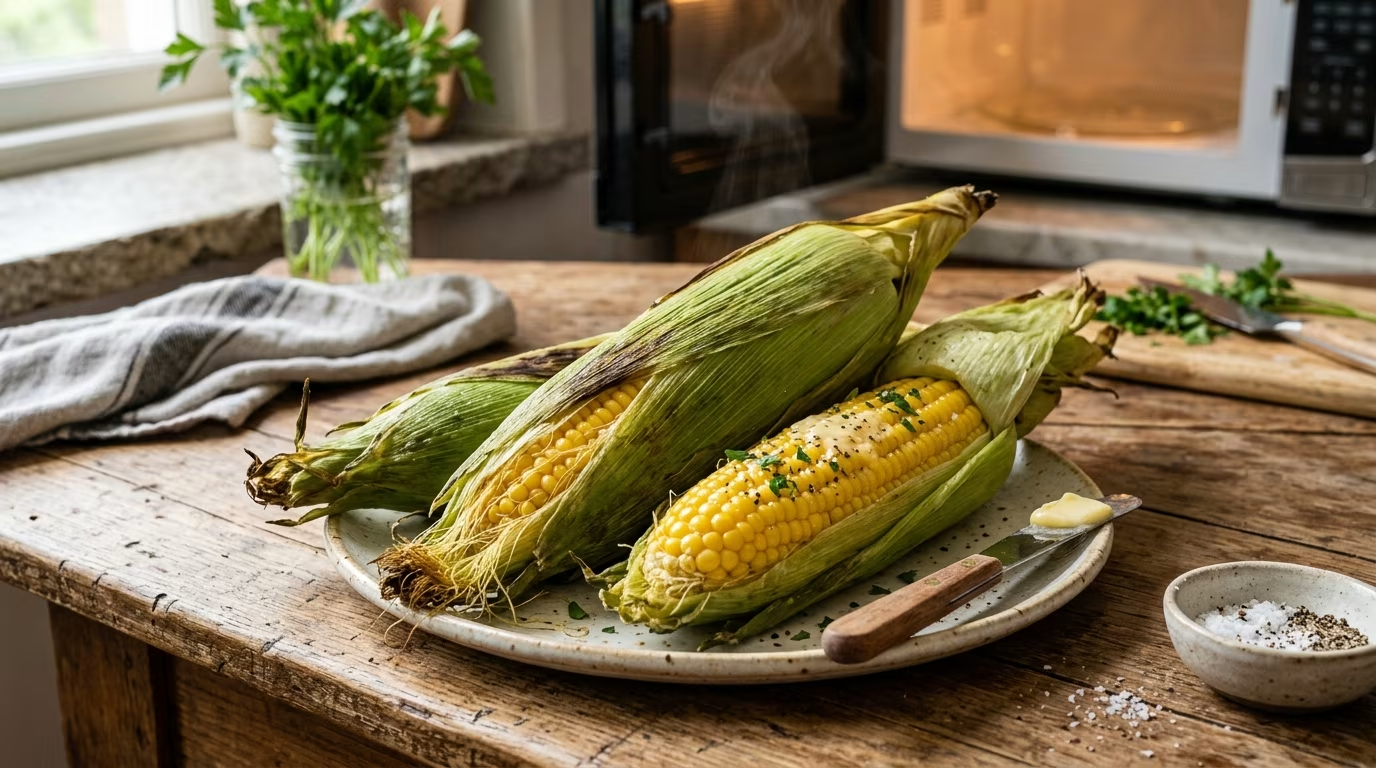
For this microwave method, leave the ears of corn in their husks. This helps trap heat and moisture, cooking the kernels evenly. It also, quite conveniently, makes the ears easier to shuck afterward.
Place the corn on the cob husks in the microwave, either on a microwave-safe plate or just on the built-in dish. You don’t need to do anything to it at this stage, but you should adjust the timing based on how many ears of corn you’re cooking.
Step 2: Microwave on High Use This Timing Guide
This is where most people get confused, so here’s a clear guide. The specific cooking time can vary based on the wattage of your microwave, the size/thickness/freshness of the corn, and your desired level of softness.
| Number of Ears | Recommended Cook Time |
|---|---|
| 1 ear | 3 4 minutes |
| 2 ears | 5½ 6 minutes |
| 3 ears | ~8 minutes |
| 4 ears | ~10 minutes |
It’s best to start with the lower cooking time, check for doneness, and then continue cooking in 30-second increments as needed, especially if you want the corn softer.
Pro tip: This method works best for up to 4 ears of corn. Only ever cook a single layer of corn in your microwave.
Step 3: Let It Rest (This Is Important!)
After microwaving, be sure to let the ears sit for a few minutes before you shuck off the husks. They might feel only warm to the touch on the outside, but are seriously hot on the inside. Wait until the silks and top leaves are cool enough to handle before peeling them back.
This rest period also aligns with what the USDA recommends: after removing food from the microwave, always allow standing time of at least 3 minutes. This completes the cooking process.
Step 4: Cut and Slide The No-Silk Trick
This is the part that feels like magic the first time you do it:
- Cut about 1 inch off of the end of the corn that has a stub. Don’t cut the end with the silk showing.
- Hold the top of the husk and silk, then gently squeeze and pull. The cooked corn will slide out cleanly, and most of the silk will come off with the husk.
- If you have any trouble, try peeling back the husk at the top a little, or holding the end with the silk in one hand and using the other hand to rock the corn a bit.
My Top Tips for Perfect Results Every Time
After making this dozens of times, here are the things that make a real difference:
- Always use fresh corn. If the corn is fresh, there’s no need to wrap it in a wet paper towel before microwaving. The corn husk itself is what locks in the moisture.
- Use oven mitts. After microwaving corn on the cob, use potholders to carefully remove it. Not only is the corn hot, but the husks hold in hot steam as well!
- Cook in batches if needed. Most microwaves handle 1 to 4 ears evenly more than that and you’ll get uneven cooking.
- Check doneness properly. To ensure that the corn is fully cooked, you can check the internal temperature is around 160 170°F/71 77°C, or peel back the husk slightly to visibly check.
- Don’t peek under the husk at the store. This dries the corn out fast and you lose that natural moisture barrier you’re counting on.
Microwave Safety: What You Should Know
Microwaves are perfectly safe kitchen tools when used correctly. The FDA has regulated the manufacture of microwave ovens since 1971, and manufacturers are required to certify their products and meet safety performance standards. Ovens that meet the FDA standard and are used according to the manufacturer’s instructions are safe for use.
For vegetable cooking like corn, you don’t need to worry about internal temperature targets the way you would with meat. However, microwave ovens can cook unevenly and leave “cold spots.” For this reason, it is important to test food in several places to be sure it has reached the recommended safe temperature. With corn, just checking that it’s steaming hot throughout is sufficient.
How to Serve Microwaved Corn on the Cob
Once your corn is out of the husk, the fun really begins. Here are some of my favorite ways to serve it:
| Style | Toppings |
|---|---|
| Classic | Butter, salt, and black pepper |
| Mexican Street Corn | Mayo, cotija cheese, chili powder, lime |
| Herbed Butter | Garlic butter, fresh parsley, parmesan |
| Spicy | Hot sauce, smoked paprika, cayenne |
| Light & Fresh | Olive oil, lemon zest, fresh herbs |
You can also serve this corn straight up with butter, salt, and black pepper, or throw it on the grill (or under the broiler) if you’d prefer a little color.
How to Store and Reheat Leftover Corn
Once it’s cooled, you can store corn on the cob in an airtight container in the fridge for up to 4 days.
To reheat: If the corn is shucked, wrap the cooked ear of corn in a damp paper towel. Place it on a microwave-safe plate. Cook for 2 minutes, and then check it and see if it needs more time.
Alternatively, you can reheat cooked and shucked corn on the cob in a pot of boiling water for 1 to 2 minutes.
Frequently Asked Questions
Do I need to wash the corn before microwaving it in the husk?
The corn husks act as a natural barrier keeping corn clean. There’s no need to wash corn after shucking. Just place it directly in the microwave.
What if my corn is already shucked?
If your corn is already husked, wrap each ear in a damp paper towel to keep it from drying out, then microwave about 3 4 minutes per ear.
Can I cook more than 4 ears at once?
Most microwaves handle 1 to 4 ears evenly more than that and you’ll get uneven cooking. Work in batches and wrap the cooked corn in a towel to keep warm.
How do I know when corn is done?
The corn should be steaming hot when you remove it and the kernels should feel tender when you press through the husk. Check for doneness, and then continue cooking in 30-second increments as needed, especially if you want the corn softer.
Final Thoughts
Microwaving corn on the cob in the husk is one of those kitchen tricks that once you try it you wonder why you ever did it any other way. It’s faster, cleaner, and honestly produces more flavorful corn than boiling because all those natural sugars and juices stay locked inside the husk.
Whether you’re making a quick weeknight side dish or feeding a crowd at a summer cookout, this method has you covered. Start with 3 4 minutes per ear, let it rest, cut the bottom, and squeeze. That’s genuinely all there is to it.
Try it tonight you’ll be amazed how simple perfect corn can be.
References
- USDA SNAP-Ed Connection “Corn: Seasonal Produce Guide.” U.S. Department of Agriculture. Accessed June 2026.
- NC State University Cooperative Extension “Sweet Corn: Nutrition Facts.” Franklin County Center. Updated August 2025.
- USDA Food Safety and Inspection Service “Cooking with Microwave Ovens.” FSIS. Updated May 2026.
- U.S. Food and Drug Administration “Microwave Ovens.” FDA. Accessed June 2026.
- U.S. Food and Drug Administration “Safe Food Handling.” FDA. Accessed June 2026.