
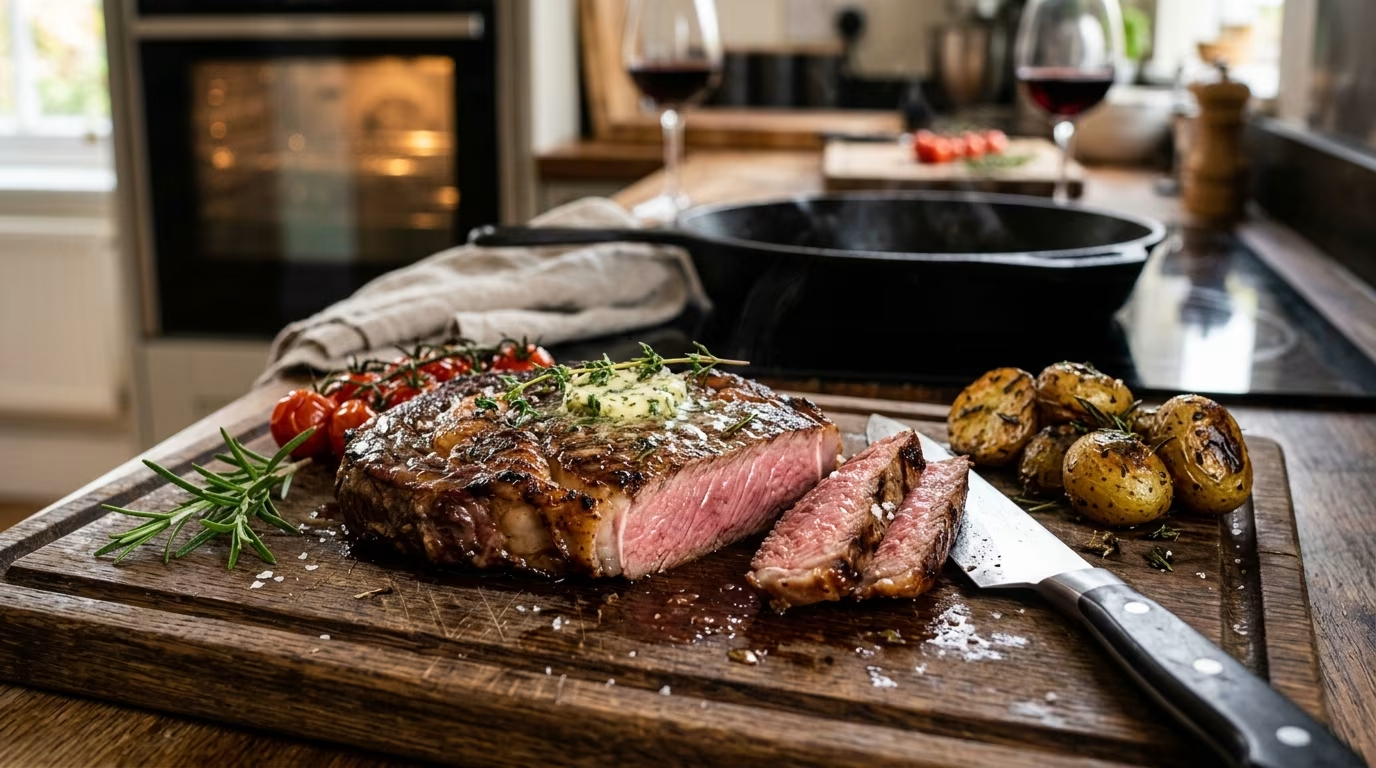
By someone who has ruined more than a few steaks and learned exactly what not to do.
Let me be honest with you: the first time I tried cooking steak in the oven, I ended up with a gray, chewy slab that tasted more like a hockey puck than a dinner. I had no thermometer, no plan, and way too much confidence. Fast forward several years in the kitchen, and I can tell you that cooking a perfect steak in the oven is not just possible it is actually easier and more reliable than grilling, once you understand a few key principles.
Whether it’s the middle of winter, you don’t own a grill, or you simply want precise control over your cook, this guide has you covered. I’ll walk you through everything from picking the right cut to nailing the perfect internal temperature so you never have to guess again.
Why Cook Steak in the Oven?
People often assume the grill is the only way to get a great steak. Not true. Baking steak in the oven allows you to cook your meat evenly on all sides and gives you better temperature control than open-flame grilling. And when you combine a stovetop sear with an oven finish, you get the best of both worlds: a rich, caramelized crust and a perfectly cooked interior.
The classic sear-then-bake method starts with high heat on the stove to build that golden crust, then finishes in the oven at a consistent temperature so the inside cooks evenly without overdoing the outside. It’s the same method used in professional steakhouses and now you can do it at home.
Step 1: Choose the Right Cut
This is where most home cooks go wrong before the steak even hits the pan. Not all cuts behave the same in the oven, so knowing what you’re working with matters.
Here are the best cuts for the oven method:
| Cut | Flavor Profile | Best Doneness | Notes |
|---|---|---|---|
| Ribeye | Rich, buttery, beefy | Medium-rare to Medium | Great marbling; very forgiving |
| New York Strip | Bold, firm, beefy | Medium-rare | Uniform shape; great sear |
| Filet Mignon | Mild, buttery, tender | Rare to Medium-rare | Very lean; butter baste recommended |
| Top Sirloin | Lean, affordable, flavorful | Medium-rare to Medium | Best budget-friendly option |
| T-Bone / Porterhouse | Two cuts in one; bold | Medium-rare | Tricky due to bone; use reverse sear |
Pro tip: Always go at least 1 to 1.5 inches thick. Thin steaks overcook too easily in the oven. When in doubt, ask your butcher to cut one fresh for you most are happy to do it.
If you’re a beginner, I always recommend top sirloin. It’s lean, affordable, widely available, and surprisingly flavorful the perfect entry point for learning to pan-sear steak.
Step 2: Prep Your Steak (Don’t Skip This)
Great steak starts long before it hits the pan. Here’s what you need to do:
🧂 Season Early
Salt your steak and let it sit for 30 minutes to several hours before cooking. Salting early draws out excess moisture which you can then blot off before cooking this is what paves the way for a stellar sear. If you’re prepping for tomorrow, leave it salted on a wire rack in the fridge overnight.
🌡️ Bring It to Room Temperature
Remove your steak from the refrigerator 30 45 minutes before cooking. A cold steak placed on a hot pan means the outside overcooks before the inside catches up. This one step makes a huge difference trust me, I learned the hard way.
🧻 Pat It Dry
Use paper towels to blot the surface of your steak completely dry. Moisture is the enemy of a good sear. A dry surface is what lets the Maillard reaction happen that gorgeous golden-brown crust that makes steak smell and taste incredible.
🫒 Season It Right
You don’t need much. Kosher salt, freshly cracked black pepper, and a drizzle of high-smoke-point oil (avocado oil is my favorite) is all a great steak really needs. If you want to go further, add garlic powder or a pat of herb butter at the end.
Step 3: Sear on the Stovetop First
Preheat your oven to 400 450°F. While the oven heats up, get your cast iron skillet ripping hot on the stove over medium-high to high heat. A cast-iron skillet is your best friend here it holds heat incredibly well and produces the most even sear.
The goal of this step is simple: create a beautiful, flavorful crust on the outside of the steak and lock in the juices. Place your steak in the pan and here’s the key do not move it. Let it sear for 1 2 minutes per side without touching it. When it releases from the pan easily and has good browning, it’s ready to flip.
Real talk: The first time I cooked steak this way, I kept poking and prodding it. That’s the wrong move. Leave it alone and let the heat do its thing.
Step 4: Finish in the Oven
After searing both sides, transfer the entire oven-safe pan directly into your preheated oven. Bake for 5 15 minutes, depending on the thickness of your steak and your desired doneness. Thinner cuts (around 1 inch) need less time; thicker cuts (1.5 2 inches) need more.
Here’s the doneness temperature chart you should keep on your fridge:
| Doneness Level | Pull Temp (from oven) | Final Temp (after rest) | Description |
|---|---|---|---|
| Rare | 115 120°F | 120 125°F | Cool, bright red center |
| Medium-Rare | 125 130°F | 130 135°F | Warm red center; juicy and tender |
| Medium | 135 140°F | 140 145°F | Pink center; moderately firm |
| Medium-Well | 145 150°F | 150 155°F | Slight pink; firmer texture |
| Well Done | 155°F+ | 160°F+ | Brown throughout; very firm |
Important: Always remove your steak from the oven when it is about 5°F below your target temperature. The steak will continue to cook from residual heat a process called carryover cooking and the temperature will rise those final degrees as it rests.
From a food safety standpoint, the USDA recommends cooking raw beef steaks to a minimum internal temperature of 145°F, followed by at least a 3-minute rest period. If you have guests with compromised immune systems, children, or elderly family members at the table, cooking to at least this temperature is strongly advised.
Step 5: Rest the Steak This Is Non-Negotiable
I cannot stress this enough: do not cut into your steak the moment it comes out of the oven. Resting is critical because the heat of cooking pulls the juices toward the surface. If you slice into it immediately, those flavorful juices end up on your cutting board instead of in your steak.
Transfer the steak to a clean plate or cutting board, tent it loosely with aluminum foil, and let it rest for 5 10 minutes. This rest period is also when that carryover cooking completes. After resting, slice, serve, and enjoy.
Bonus Method: The Reverse Sear
If you’re cooking a very thick steak (1.5 inches or more), the reverse sear method might actually give you better results. Instead of searing first and baking second, you flip the process:
- Place steak on a wire rack on a rimmed baking sheet.
- Bake in a 275°F oven for 15 25 minutes until it reaches about 30°F below your target.
- Remove from oven, then sear in a screaming-hot cast-iron pan for 1 2 minutes per side.
- Rest and serve.
The gentle and consistent heat in the oven during the first phase provides more control of the internal temperature and helps prevent overcooking. Plus, the oven dries the surface moisture so the final sear creates an even more stunning crust. This method is particularly well suited to thicker and larger cuts like a Cowboy Ribeye or a Tomahawk Steak.
Equipment You Actually Need
- ✅ Cast iron skillet holds heat best; produces the most even sear
- ✅ Instant-read digital meat thermometer the single most important tool for consistent results
- ✅ Oven mitts that handle gets dangerously hot
- ✅ Kitchen tongs for flipping without piercing the meat
- ✅ Aluminum foil for resting
If you don’t own a digital meat thermometer yet, stop what you’re doing and get one. It’s the single investment that will improve every piece of meat you ever cook, not just steak.
Common Mistakes to Avoid
- ❌ Cooking a cold steak always bring to room temperature first
- ❌ Skipping the pat-dry step wet surfaces steam instead of sear
- ❌ Moving the steak during searing let the crust form before flipping
- ❌ Cutting right away always rest before slicing
- ❌ Guessing doneness use a thermometer, every single time
Quick Summary: The Oven Steak Method at a Glance
| Step | What to Do | Time |
|---|---|---|
| 1 | Salt steak, bring to room temperature | 30 45 min before |
| 2 | Preheat oven to 400 450°F; heat skillet on stove | 10 15 min |
| 3 | Pat steak dry, season, sear each side in hot pan | 1 2 min per side |
| 4 | Transfer pan to oven; bake until 5°F below target | 5 15 min |
| 5 | Rest tented with foil before slicing | 5 10 min |
Final Thoughts
Cooking steak in the oven isn’t some secret technique reserved for restaurant chefs. With the right cut, a hot pan, a reliable thermometer, and the patience to let the steak rest, you can produce a genuinely restaurant-quality steak in your own kitchen any night of the week, regardless of the weather outside.
The biggest lesson I’ve taken from years of cooking steak? Trust the thermometer, not the clock. Every steak is different. Thickness varies, oven temperatures vary, and pan heat varies. The thermometer is the only tool that tells you the absolute truth about what’s happening inside that cut of meat.
Now go make yourself a great steak. You’ve got everything you need.
References
- USDA “Cooking Meat: Is It Done Yet?” United States Department of Agriculture. Updated October 2022.
- USDA Food Safety and Inspection Service “Safe Minimum Internal Temperature Chart.” FSIS. Accessed June 2026.
- USDA Food Safety and Inspection Service “Doneness Versus Safety.” FSIS. Accessed June 2026.
- Gavin, Jessica “Reverse Sear Steak Recipe.” JessicaGavin.com. Updated April 2024.
- The Kitchn “How To Cook Perfect Steak in the Oven (Step-by-Step Recipe).” Updated April 2023.